Fast, Tiny, Local Image Generation:
Qwen-Image-2512
We are releasing Qwen-Image-2512, our first image-generation release.
We suggest two possible deployment paths:
- GGUF models for ComfyUI and stable-diffusion.cpp.
- Humming models for vLLM-Omni. Compared to the GGUF setup, this can be more than 2x faster but the whole setup is still experimental.
For both families we provide a setup guide to start sampling images through ComfyUI: GGUF and Humming. Please note that the Humming integration is experimental.

TL;DR
- We are releasing Qwen-Image-2512 quantized in two flavours: GGUF for ComfyUI and stable-diffusion.cpp, and Humming for vLLM-Omni. The GGUF path is the stable one; the Humming path is experimental and roughly 2.5x faster.
- On an NVIDIA RTX PRO 6000 Blackwell, at 1024 × 1024 with 20 steps, Humming generates an image in about 8–9 seconds and GGUF in about 21–24 seconds.
- The models are small enough to run locally: with CPU offload, the most aggressively quantized builds peak at roughly 15–16 GB of VRAM at 1024 × 1024, and under 10 GB at 512 × 512.
- Higher numerical precision does not always produce a better image. BF16 can fail where a quantized model succeeds, and a more aggressively quantized model can sometimes produce a more appealing result than a less quantized one.
- At sufficiently low precision, degradation becomes obvious. But around 4 bpw and above, many of the models produced images that were difficult to distinguish from BF16 by visual quality alone.
- Not sure which file to download? Check the VRAM and speed table below, then browse the curated image comparisons.
Which model should you use?
The GGUF models run through stable-diffusion.cpp or ComfyUI. Humming models run with vLLM-Omni and are substantially faster, but this integration is still experimental. On an NVIDIA RTX PRO 6000 Blackwell, at 1024 × 1024, with 20 steps, the Humming models generate an image in roughly 8–9 seconds, compared with about 21–24 seconds for GGUF.
Both families can run entirely on the GPU or use CPU offload to reduce GPU memory requirements. Offloading can make larger models or image sizes accessible on smaller GPUs, at the cost of some additional latency.
Which model should you download?
-
Choose a runtime.
GGUF for stable-diffusion.cpp or ComfyUI; Humming for maximum speed if you are comfortable using an experimental vLLM-Omni integration. -
Choose an image size.
Larger images require more GPU memory. -
Check what fits.
The VRAM and speed table below reports peak VRAM for every model at every image size we measured. Use offload if the full model does not fit. -
Pick the largest model that fits.
Less aggressive quantization stays numerically closer to the BF16 baseline, although this does not always produce better-looking images. We examine image quality later in the post; as a simple starting point, choose the largest model your hardware can comfortably run.
VRAM and speed by model
Every model we released, measured at the four output sizes we tested. Pick a runtime and an output size: the table shows what the model takes on disk, the peak GPU memory it reaches, and how long one image takes, both with everything resident on the GPU and with CPU offload.
| Model | Total on disk | All on GPU | With CPU offload | ||
|---|---|---|---|---|---|
| Model | On disk | Peak VRAM | End-to-end | Peak VRAM | End-to-end |
Measured on an NVIDIA RTX PRO 6000 Blackwell Workstation Edition · one image · 20 steps · euler · cfg 2.5 · flow-shift 3. The lowest value in each column is highlighted. Hover (or tap, on a touch screen) any underlined VRAM or time value to see what it is made of; vLLM-Omni does not report a trustworthy VRAM split, so only its timings break down. Scroll the table sideways to see the offload columns.
All on GPU keeps the diffusion model, text encoder and VAE resident in GPU memory. With CPU offload means the GGUF runtime holds and runs the text encoder on the CPU, while vLLM-Omni keeps the weights in system RAM and streams them to the GPU as they are needed. With the GGUF runtime you can free more VRAM still by putting the VAE on the CPU as well, but decoding there lengthens the end-to-end time considerably. End-to-end is the complete request (text encode, the 20 denoising steps, and VAE decode), and peak VRAM is the high-water mark across all of it. Every number here was measured with the BF16 text encoder; a quantized text encoder brings the memory footprint down further.
Setting up and running the models
Detailed instructions in the respective tabs below. Qwen-Image is made up of several components: the main diffusion model, which performs most of the image-generation work, plus a text encoder, VAE, tokenizer, and scheduler. The exact packaging and setup depend on whether you use the GGUF or Humming/vLLM-Omni release, so follow the corresponding guide below to download the required components and assemble the complete pipeline.
The GGUF models run with stable-diffusion.cpp and with ComfyUI through the ComfyUI-GGUF extension. This section walks through the ComfyUI setup.
What You Will Do
Running a GGUF model in ComfyUI involves five main steps:
-
Set up ComfyUI
Create a Python environment, install ComfyUI, and add the ComfyUI-GGUF extension. -
Download the required model components
Download a ByteShape quantized diffusion model, the Qwen-Image VAE, and a compatible text encoder. -
Start ComfyUI
Launch the ComfyUI server and open its web interface. -
Load the example workflow
Import our prebuilt workflow to configure the model and generation pipeline. -
Generate an image
Select the downloaded models, enter your prompts, choose the image dimensions, and adjust the sampling settings.
The sections below walk through each step in order.
Set Up the Environment
Create a Python environment, install ComfyUI, and add the ComfyUI-GGUF extension.
Create and activate the environment:
conda create -y -n comfy python=3.13
conda activate comfy
Clone ComfyUI and install its dependencies:
git clone https://github.com/Comfy-Org/ComfyUI.git
cd ComfyUI
pip install -r requirements.txt
Then add the ComfyUI-GGUF extension:
cd custom_nodes
git clone https://github.com/city96/ComfyUI-GGUF
cd ComfyUI-GGUF
pip install -r requirements.txt
Once the environment is ready, return to the root of the ComfyUI repository before downloading the models.
Download the Models
Qwen-Image requires three separate components:
- The main diffusion model
- The VAE
- The text encoder
Main Diffusion Model
Choose your preferred quantization from
our available models,
then download it to the models/unet directory inside the ComfyUI repository:
curl -L -C - -o models/unet/Qwen-Image-2512-Q3_K_S-3.04bpw.gguf \
  https://huggingface.co/byteshape/Qwen-Image-2512-GGUF/resolve/main/Qwen-Image-2512-Q3_K_S-3.04bpw.gguf
VAE
The VAE is a relatively small model that Qwen-Image uses to decode images from latent space into pixel space:
curl -L -C - -o models/vae/qwen_image_vae.safetensors \
  https://huggingface.co/Comfy-Org/Qwen-Image_ComfyUI/resolve/main/split_files/vae/qwen_image_vae.safetensors
Text Encoder
The text encoder conditions Qwen-Image on your prompt. Qwen-Image uses Qwen2.5-VL-7B-Instruct for this purpose.
We did not quantize the text encoder ourselves because the model is relatively mature, several high-quality quantizations are already available, and it contributes little to the overall inference time.
Choose one of the following options.
This is the recommended option and the one used by our workflow template.
Bartowski: Q4_K_L, 5.1 GB
curl -L -C - -o models/text_encoders/Qwen2.5-VL-7B-Instruct-Q4_K_L.gguf \
https://huggingface.co/bartowski/Qwen_Qwen2.5-VL-7B-Instruct-GGUF/resolve/main/Qwen_Qwen2.5-VL-7B-Instruct-Q4_K_L.ggufComfyUI: BF16
curl -L -C - -o models/text_encoders/qwen_2.5_vl_7b.safetensors \
https://huggingface.co/Comfy-Org/Qwen-Image_ComfyUI/resolve/main/split_files/text_encoders/qwen_2.5_vl_7b.safetensorsUnsloth: UD-Q4_K_XL, 4.8 GB
curl -L -C - -o models/text_encoders/Qwen2.5-VL-7B-Instruct-UD-Q4_K_XL.gguf \
  https://huggingface.co/unsloth/Qwen2.5-VL-7B-Instruct-GGUF/resolve/main/Qwen2.5-VL-7B-Instruct-UD-Q4_K_XL.gguf
Run ComfyUI
From the root of the ComfyUI repository, run:
python main.py
Once it starts, open a browser and go to http://127.0.0.1:8188 to reach the ComfyUI interface.
Load the Example Workflow
If you are new to ComfyUI, you can use the following workflow file to initialize your workspace and begin generating images:
byteshape-Qwen-Image-2512-GGUF-3.04bpw.json ComfyUI workflow
To load it in ComfyUI, press Ctrl+O and select the JSON file.
The loaded workspace with our smallest model should look like this:
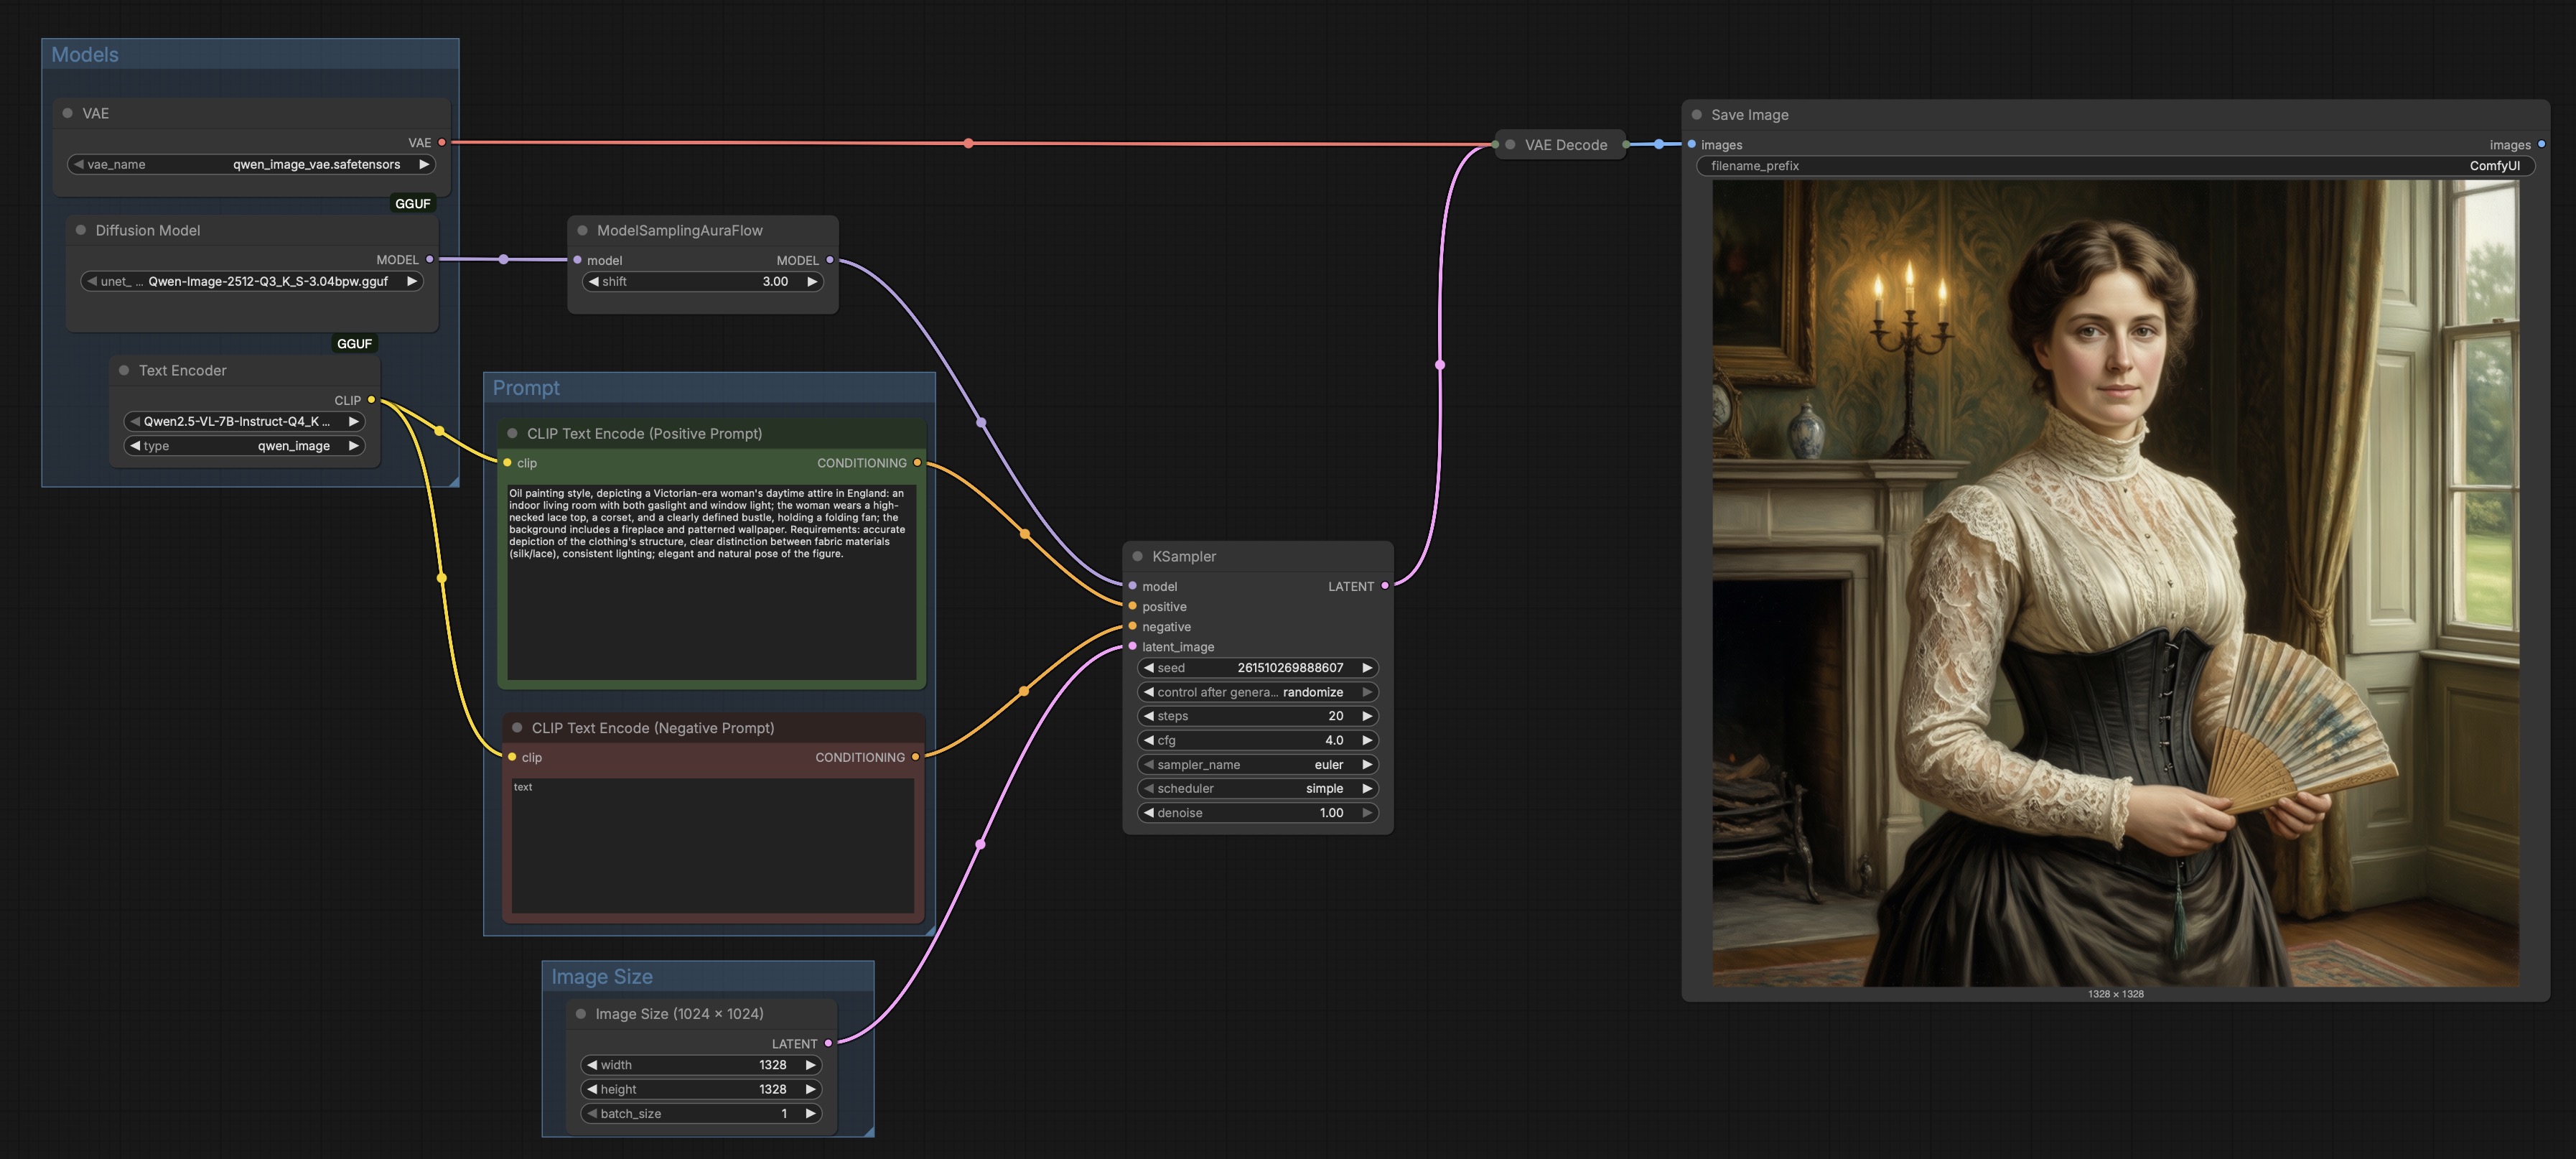
Use the controls highlighted in blue to:
- Select the required models
- Enter positive and negative prompts
- Choose the output image dimensions
The sampler controls in the center, let you configure the random seed, number of sampling steps, and other generation parameters.
The Image Size group in the attached workflow is set to 1328 × 1328. Change the width and height there for any other output size. The timings quoted in this post were measured at 1024 × 1024.
Image quality: what to expect
Evaluating quantized image models is difficult because image quality is subjective and does not vary predictably with numerical precision. BF16 does not always produce the best result: a quantized model may follow the prompt more faithfully, and a more aggressively quantized model may sometimes produce a better-looking image than a less quantized one.
Differences across models are often subtle, prompt-dependent, and difficult to separate from normal variation across seeds. A poor output is therefore not necessarily caused by quantization. Clear degradation does appear at sufficiently aggressive levels, but around 4 bits per weight and above, many of the models were difficult to distinguish from BF16 by visual quality alone.
Rather than reducing these behaviours to a single, potentially misleading quality score, we provide a curated set of examples showing:
- Cases where BF16 performs best
- Cases where a quantized model follows the prompt more faithfully
- Cases where a more quantized model produces the preferred image
- The point at which quantization-related degradation becomes clearly visible
The goal is to give you a realistic sense of what to expect when using these models and not to suggest that image quality improves or declines in a perfectly predictable way with precision.

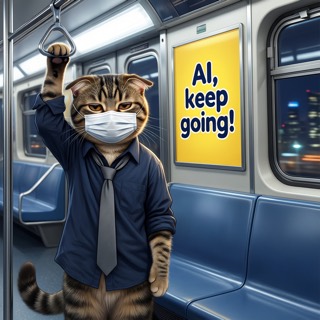

Every prompt rendered by all seven GGUF variants and all seven Humming variants, side by side, with our notes on what each row is worth looking at, including the rows where BF16 is the one that fails.
Open the comparisonThe set covers both families: the six GGUF quantizations and the six Humming quantizations, each compared against its own BF16 baseline, with identical prompts and sampling parameters throughout. Each family’s examples carry their own curator notes, written against that family’s outputs and its own BF16 baseline.